I appreciate all your comments and feedback regarding the blog. It seems that a lot of folks are interested in prototype operations that take place on simple track arrangements. That being said, let's look at a transload facility that offers a lot of switching potential on a small amount of track. The company is FMC. The commodity, soda ash (Sodium Carbonate to be proper).
PPG operates a glass plant, located along Norfolk Southern and served by an NS crew. NS delivers and spots all sand and limestone necessary for glass production. PPG needed more capacity for receiving and storing soda ash, the third ingredient in glassmaking. Rather than rebuild their existing rail infrastructure, PPG and FMC Chemical worked out a unique alternative. Hoppers of soda ash, loaded in Wyoming, are delivered to our railroad. We deliver the hoppers to a spur near the north end of the railroad, just a few miles short of the NS interchange. Here, the soda ash is transferred into highway trailers and trucked the final miles over to PPG. All of the soda ash comes to us via CSX, so perhaps PPG/FMC are saving additional money through the non-NS routing.
The rail infrastructure needed to pull-off this endeavor is quite simple:
FMC leases a spur track, which holds 4 three-bay hoppers, as well as the former railroad depot that serves as a job office. Surrounding the spur and depot is a gravel lot. Soda ash is loaded into trucks with a self-propelled conveyor unit. This unit moves from car to car, placing its low-profile horizontal belt under the individual hopper bays. Semi trucks make round trips from the spur to PPG’s plant, where the soda ash is stored in silos. PPG goes through a lot of soda ash, so anywhere from 1 to 4 cars are spotted per day here.
 |
| FMC spur and leased railroad depot |
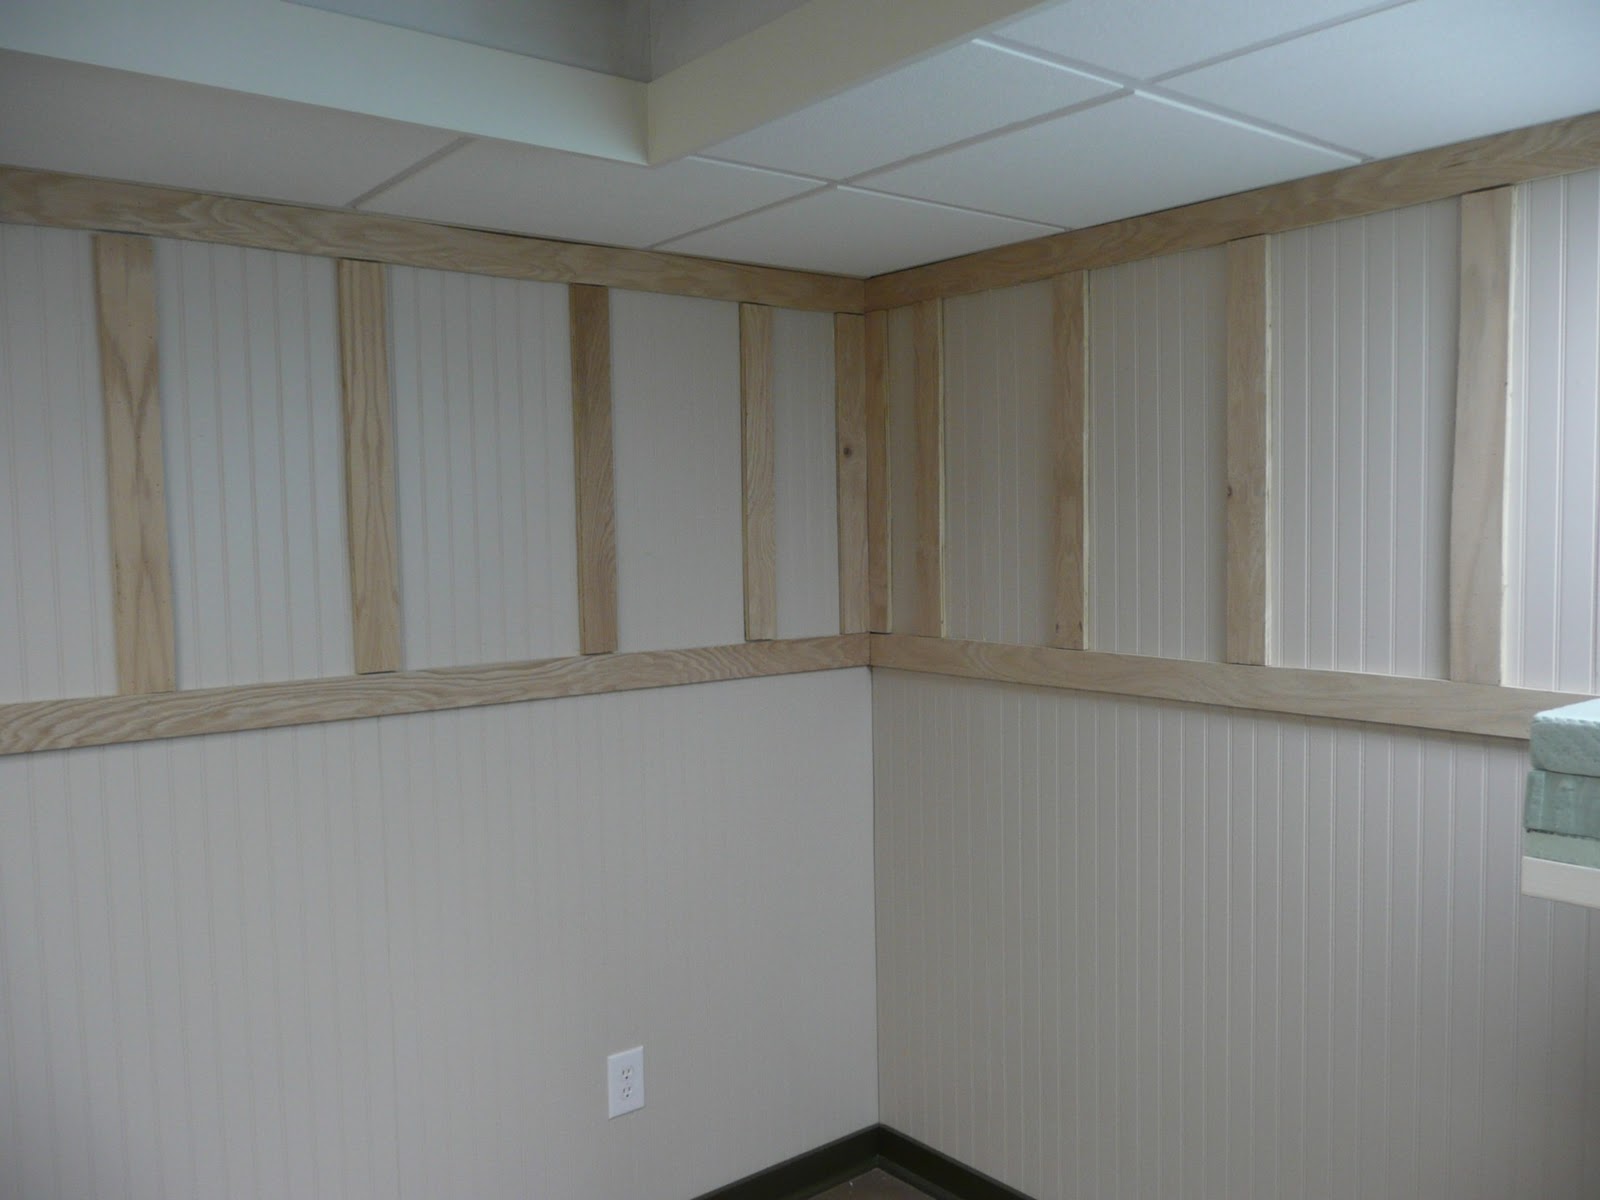
Just north of the transload spur, the railroad constructed another spur that holds 5 hoppers. Loaded hoppers are stored here, waiting their turn to be unloaded down at FMC. There is also a runaround track here, since we often turn at this station if there is no work to be done farther north.
 |
| Left to right: storage track, run-around siding and mainline. The FMC spur is in the far background. |
 |
| Track-level view looking south |
 |
| Looking railroad north toward the run-around and storage track |
 |
| Transloading equipment |
OPERATIONS
Spotting hoppers at the FMC spur entails a lot more than just pulling four empties out and shoving four loads in. For example:
The soda ash hoppers are spotted in date order and come in several series: 1000; 40,000 and 50,000 numbers. Due to nuances in car height (1000’s bays are lower than 40,000’s and 50,000’s), FMC requests that the second car from the switch (the #2 car) be a 40 or 50. The elevation of the spur rises slightly here and FMC has difficulty getting their unloading conveyor beneath a 1000 series car at this spot.
So say that FMC has two empties today…the first and second car from the switch. You have two hoppers in your train (a 40,000; followed a 1000). If you simply pull the empties and shove in the two loads, you will have placed the 1000 car in the #2 spot, where FMC can't unload it. Instead, you need to make some extra moves to swap the order of the two cars in your train.
Also, FMC usually begins unloading the car nearest the switch and works their way back. Sometimes the car at the end of the spur gets neglected and will not get unloaded fast. When that last car has been sitting loaded for a while, you might shuffle it so that it becomes the first car nearest the switch (thus getting unloaded the next day). Little details make shifting a siding interesting!
On some days, the storage track is full and you will have no hopper cars in your train. Thus you dig loads out of the storage track for spotting at the unloading spur (minding the location of the 1000's remember:-) ) Other days, one or two cars in your train will get spotted on the unloading spur and all others will go to the storage track. Some days loads come from your train and from storage. As conductor, it’s up to you to figure out the most efficient way to get cars where they need to be. The cool thing is that by modeling an industry like this, you can make life as simple or as complicated as you’d like, depending on how much time you have for an operating session.
We'll end with a real-life example:
FMC has the first two cars on the spur unloaded. The third car (still loaded) hasn't been there that long. However, the 4th car at the end of the spur was spotted a week ago. It is also a 1000 series car. There are three loaded hoppers in our train and two more are on the storage track. The cars on the storage track are older date-wise than the ones in our train. So, we need to (1) pull the two hoppers from storage and spot them on the FMC spur; (2) move the #4 car to the #1 spot so that it will get unloaded next; (3) place the three loads in our train on the storage track; and (4) take the two empty hoppers back south to the CSXT interchange.
Here's how I went about shifting that day. The sequence itself is interesting enough but the real point is just how many moves it takes to simply pull 2 empties and spot 2 loads:
- Drop the three loads in our train on the main, leaving room for 1 more hopper before the fouling point.
- Go in and grab all four hoppers off the spur (2 empties and 2 loads).
- Set the #4 car (the 1000 car) back against the three cars sitting on the main. (This is why we left headroom when we cut away from our train in step 1)
- Cut away with the 2 empties and 1 load.
- Spot the load (the original #3 car) as the new #4 car, leave the two empties coupled to it for now.
- Pull ahead with just the locomotive to clear the switch. Tie onto the cars on the main. You now have the engine, the 1000 car and the three loads you brought with you (in that order).
- Pull everything ahead to clear the switch.
- Back into the spur and grab the 2 empties.
- Pull out, leaving the switch lined for the spur behind us. Keep pulling north until the last car clears the south run around switch. Throw the south switch for the siding, since we are right beside it.
- Tie handbrakes on the 2 empties, cut them away from the rest of the train. Note, making a cut here saves from walking back to do it a bit later;-)
- Now cut away from the 3 loads that were originally in our train, keeping only the 1000 car we picked up on the FMC spur.
- Go into the storage track and grab the 2 loaded hoppers there.
- Pull them out to the main, then shove ahead to couple to the 3 loads we dropped on the main.
- Place the 3 loads on the storage track.
- Now shove south with the 1000 car and 2 loads we picked up on the from the storage track.
- Shove down and spot these three cars on the FMC spur. (Note that, because we left the FMC spur switch lined and also lined the south siding switch in step 9, our engineer does not need to stop the heavy train for us to line them now. Anytime we can save our engineer a little grief the better).
- After spotting the cars at FMC, pull ahead so the locomotive is between the switches for the spur and south run around. Throw both back for the main.
- Now we'll couple to the 2 empties that we're taking back south, perform an air test, then depart.
For our wheel report, we remembered to record all car numbers; the time we spotted all cars; and the track numbers that they all went to right?